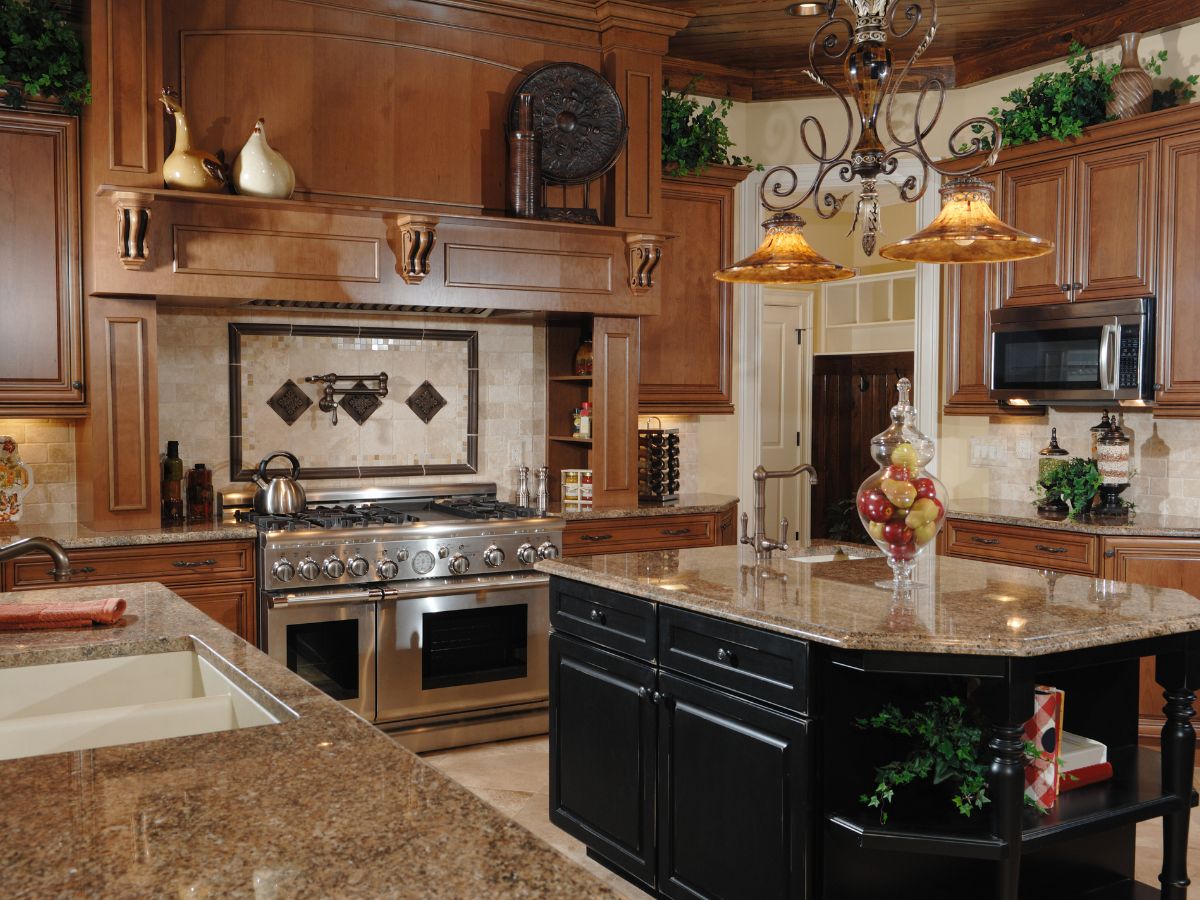


How to Cover Tile Countertops with a Slip Cover
As an Amazon Associate, I earn from qualifying purchases
How to Cover Tile Countertops with a Slip Cover
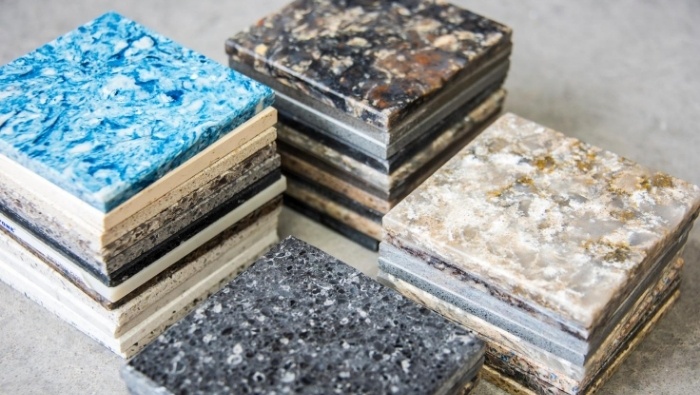
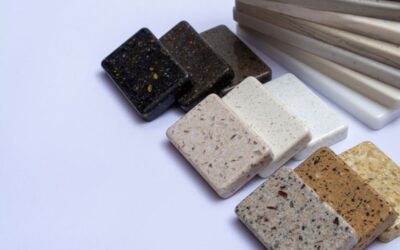
Countertop overlays are pre-projected sections of rock or quartz ledge material that can be laid straightforwardly on top of your current ledge for however long it is solid and stable. The overlay thickness is around 13 mm, and the material is form and mold-safe. Overlays are intended to fit the ledge impeccably, and the hidden base should be level. They normally work with under-mount sinks and farmhouse sinks.
You can utilize coated artistic and porcelain tile to conceal your old ledge. These sorts of tiles are stain-and-intensity safe and come in a huge range of sizes, shapes, and tones. If your counters can oblige some additional thickness, it’s ideal to begin with a layer of 1/4-inch concrete board stuck to the ledge and lay the tile over that.
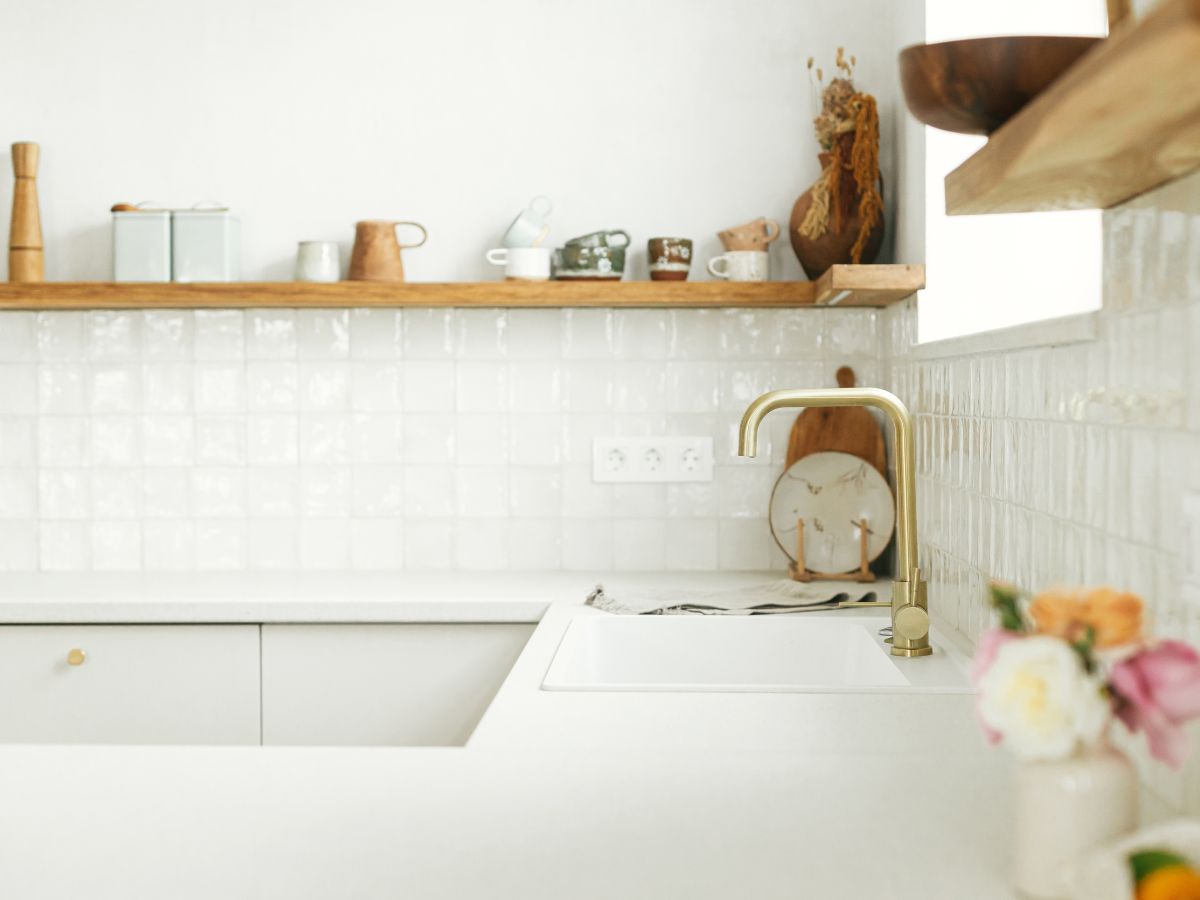
Another choice is to make a pressed wood cover that fits over the first ledge and edge, like a slipcover for a couch. This will raise and stretch out forward the ledge under an inch. You’d just need to eliminate the sink briefly to place the counter in, then, at that point, reinstall the sink.
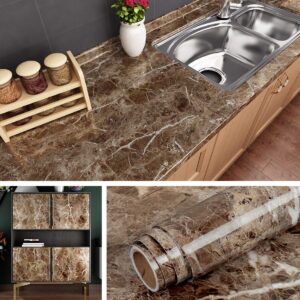
Contact paper is a monster ledge sticker that comes on a roll with a smooth, waterproof side and tacky support covered with a defensive film. It’s an extraordinary answer for tenants or military families in government lodging, as it leaves no buildup and can be eliminated without harming the first ledge.
One of the most straightforward approaches to covering your kitchen ledges is by painting over them. You should utilize a paint that will deal with the ledge surface, for example, acrylic paint utilized for the inside of a house or a particular ledge paint.
What are the different types of countertop covers available?
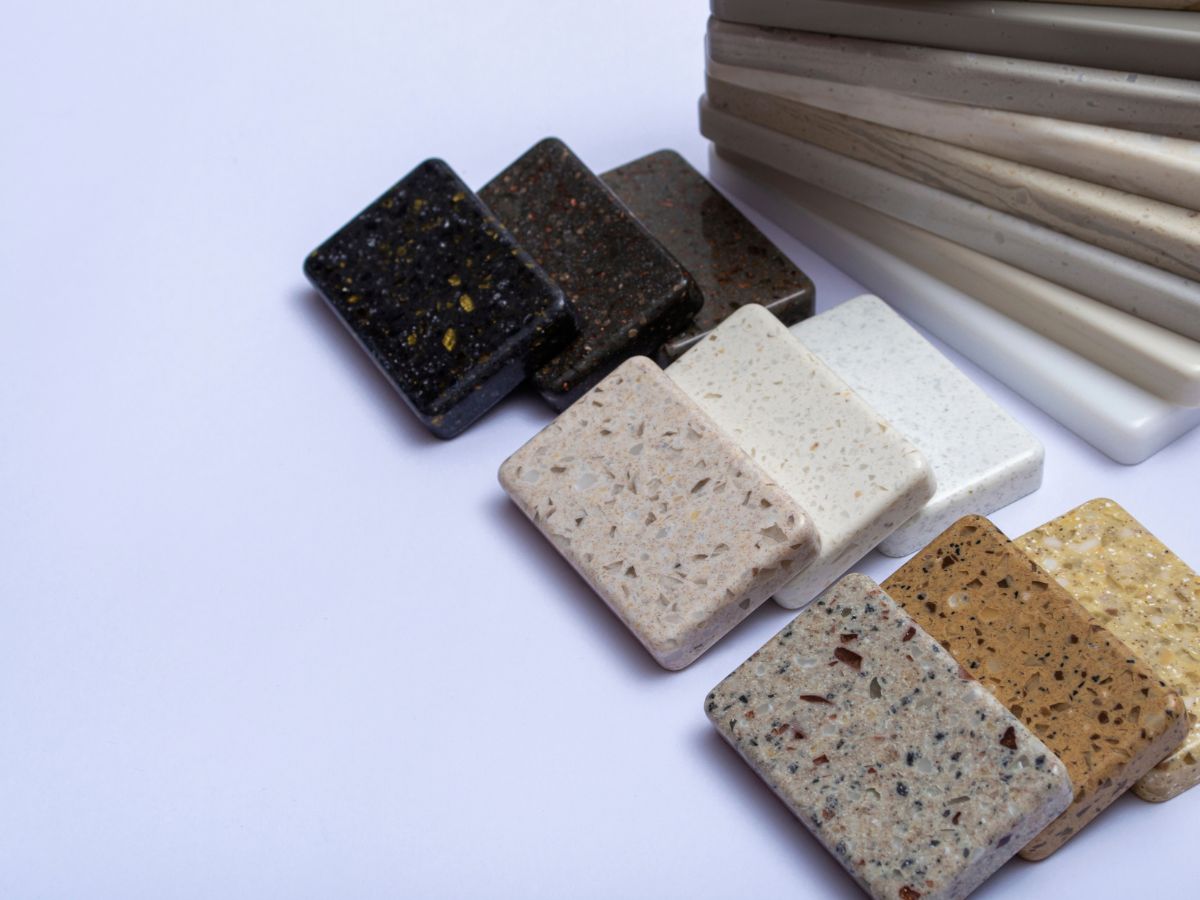
Countertop Overlays: These are pre-projected sections of stone or quartz ledge material that can be laid straightforwardly on top of your current ledge for however long it is solid and stable. The overlay thickness is around 13 mm, and the material is form and mold-safe
Tile Overlays: You can utilize coated artistic and porcelain tile to conceal your old ledge. These sorts of tiles are stain-and-intensity safe and arrive in a huge scope of sizes, shapes, and varieties.
Plywood Cover: Another choice is to make a compressed wood cover that fits over the first ledge and edge. This will raise and stretch out forward the ledge under an inch.
Contact Paper: Contact paper is a monster ledge sticker that comes on a roll with a smooth, waterproof side and a tacky sponsorship covered with a defensive film. It’s an extraordinary answer for tenants or military families in government lodging, as it leaves no buildup and can be eliminated without harming the first ledge.
Painting Over the Countertop: One of the simplest approaches to covering your kitchen ledges is by painting over them. You should utilize a paint that will deal with the ledge surface, for example, acrylic paint utilized for the inside of a house or a specific ledge paint.
Choosing the Right Covering Material
Durability and Maintenance
- Ledge Overlays: Rock or quartz overlays are exceptionally sturdy, impervious to shape and mold, and require negligible upkeep.
- Title: Coated fired and porcelain tiles are stain-and-intensity safe, yet grout lines might require ordinary cleaning to forestall staining.
- Pressed wood Cover: Compressed wood is less sturdy than stone or tile and might be powerless to water harm while perhaps not appropriately fixed.
- Contact Paper: While simple to apply and eliminate, contact paper is less strong than other choices and may not endure intense or sharp items well.
- Paint: Specific ledge paint can be strong if appropriately applied, yet may not be just about as dependable as stone or tile and could require final details.
Aesthetics
- Ledge Overlays: Offer a cutting-edge, consistent look and come in different tones and examples.
- Title: Gives a wide variety of plan choices with various sizes, shapes, and tones.
- Pressed wood Cover: This can be modified with paint or overlay; however, it might not have the top-of-the-line finish of stone or tile.
- Contact Paper: Accessible in various plans and examples, yet may look less premium than different materials.
- Paint: Takes into consideration inventiveness with variety and finish; however, may need to accomplish a similar normal look as stone or tile.
Installation and Cost
- Ledge Overlays: Proficient establishment is suggested, and the expense can be critical, however, under a full ledge substitution.
- Title: This can be a Do-It-Yourself project on the off chance that you’re talented; however, includes more advances and expenses for materials like concrete board and grout.
- Pressed wood Cover: A financially savvy and do-it-yourself well-disposed choice; however, it may require instruments and abilities to cut and fit the compressed wood.
- Contact Paper: A reasonable and simple to-apply choice, ideal for brief arrangements
- Paint: For the most part, it is economical and can be a Do-It-Yourself project, yet it requires cautious planning and wrapping up.
Compatibility with Existing Fixtures
- Ledge Overlays: Works with under mount and farmhouse sinks; however, the current ledge should be level.
- Tile: Can be adjusted to fit around existing apparatuses; however, added thickness might influence sink and installation fit.
- Compressed wood Cover: Requires brief expulsion of the sink for establishment.
- Contact Paper: Handily slice to fit around apparatuses; however, may not be appropriate for high-dampness regions.
- Paint: This can be applied around installations, yet installations might be eliminated for expert completion.
How to cover tile countertops with thin quartz

Setting up the Patterns: Put a piece of paper on top of the ledge and follow your desired region to supplant. This will assist you with deciding the size and state of the quartz overlay you want
Setting up the Quartz: Measure your ledge surface to know the size of the quartz overlay you want. You can arrange pre-cut quartz sections given these estimations. Make sure to represent the sink opening and pick quartz with unpolished edges to guarantee there are creases between the sections.
Eliminating the Tiles: Before introducing the quartz, you want to eliminate the current tiles. This step could need proficient support to abstain from harming the hidden surface.
Applying the Cement: Spread a bed of far-set mortar on a superficial level to be covered, or apply a consistent dab of glue to the rear of the quartz
Introducing the Quartz: Put the quartz pieces on top of the glue or mortar. Ensure they fit appropriately and are adjusted accurately. If your ledge can oblige some additional thickness, you can lay the overlay chunks straightforwardly on top.
Wrapping up with the Joint Sealer: After the quartz is introduced, apply a joint sealer to fill any holes and guarantee a smooth, consistent completion
Last little details: Clean the surface and check for any defects. If it is important, make minor changes or fixes.
Step-by-Step Guide to Covering the Countertop
Concrete Overlay
- Spread a far layer of cement over your ledge utilizing a clay blade or a drywall scoop. It’s like icing a cake or utilizing a spackle to fix an opening in a wall. Try not to stress over covering the entire surface on your first go; you can cover dainty regions with the subsequent coat.
Tiling Over Laminate
- Survey the base for underlying scaffolding.
- Fix any stripping overlay.
- Eliminate or cover hindrances.
- Roughen the overlay surface.
- Clean the cover.
- Dry-fit the tile on the ledge.
- Cut the tiles.
- Spread the mortar and lay the tiles.
Self-Cement Paper
- Measure your ledges to know how much self-cement paper to buy.
- Clean your ledges with cleanser and water or cleaning wipes.
- Spread out the paper.
- Strip and stick the paper.
- Cut the paper.
- Trim after applying.
- Finish the establishment
Plywood Countertops
- Eliminate the old ledge.
- Measure and cut the pressed wood.
- Add a layer of contact concrete between the two layers of pressed wood.
- Collect the ledge
Tile Overlays
- Set up the ledge by roughening the surface and preparing it to retain the mortar and stick the tiles.
- Orchestrate the tiles on the ledge base, trying to represent grout lines.
- Use spaces to guarantee the legitimate arrangement of tiles.
- After tiling, let the mortar dry as indicated by the maker’s directions.
Countertop Overlays
- Ledge overlays cover your current ledge as huge, pre-projected chunks of stone or quartz ledge material.
- However long you have serious areas of strength for a counter, you can lay the overlay pieces straightforwardly on top.
- You can likewise eliminate your current counter and set out another base of pressed wood.
Cover tile countertops Common Problems.
Stains and Bacteria: Tile ledges use grout, which is a porous material. This implies it can ingest fluids and possibly harbour microbes.
Maintenance and Cleaning: The grout lines in tile ledges can be challenging to clean, and the surface can feel “uneven” because of the grout lines
Burst Surface: Ledges can crack for various reasons, and this can influence tile ledges, too
Scratches and Chips: Since skillets, blades, and different utensils are regularly utilized on ledges, chips, and scratches can happen. This is perhaps one of the most well-known issues ledges create
Grout Line Breaking: To forestall breaking in the grout between the base column of the tile and the ledge edge, a more adaptable material like caulk is suggested rather than grout
Spills: Tiled counters in kitchens are not ideal due to grouting issues and what could happen when you spill wine and sauces
Stylish Issues: The creases or joints where the tiles meet can be apparent, which probably won’t be interesting to certain individuals
How to prevent stains on tile countertops?
Seal the Grout: Grout is inclined to stain and gather grime. To limit stains and profound set soil, seal the grout straightaway in the wake of introducing the tile, and yet again apply the sealer like clockwork, as suggested by the producer. You can utilize a VOC-consistent, dissolvable tile grout sealer intended for profound infiltration into the grout. It safeguards against oil and water-based stains while as yet permitting the surface to relax.
Use Stain-Safe Grout: Select a stain-safe grout, for example, MAPEI Flexcolor CQ, or an epoxy-based grout like MAPEI’s Kerapoxy CQ for ideal stain obstruction. There are additionally exceptionally formed adaptable grout tiles that are stain-safe and ideal for your floor and wall tiles.
Standard Cleaning: Normal vacuuming or clearing can keep fundamental soil and residue from gathering after some time and subsiding into the grout lines, which can ultimately transform into hard-to-eliminate stains
Utilize a Grout Color: If you’re putting in new tile ledges, think about utilizing a coloured grout. Kicking the bucket the grout a hazier variety can assist with concealing future stains. The colour will not give any defensive properties, yet it can take care of normal corrective issues.
Utilize an Infiltrating Sealant: An entering sealant with variety can, in a flash, clean up and bring back the excellence of tiles. On the off chance that the sealer gets on the tiles, simply take a soggy material and immediately wipe it away. Permit the principal coat to drench before adding numerous coats, as educated by the producer of the sealer.
Use Epoxy Grout for Worktops: For grouting worktops, just an epoxy grout, for example, Larsen’s Epoxy Grout, ought to be utilized. This is because typical wall and floor grout is water-safe, and that implies water and different fluids can infiltrate the outer layer of the grout and not influence the grout. Epoxy grout is impenetrable so that nothing can be ingested into the outer layer of the grout.
What are the most common materials used for slipcovers?
Cotton: Cotton is a famous decision because of its intricacy, non-abrasiveness, and machine-launderability. It’s solid yet can wrinkle without any problem.
Polyester: Polyester is a typical material for slipcovers since it’s solid, simple to clean, and opposes wrinkling. It’s frequently mixed with different filaments for ideal execution.
Denim: Denim is a solid material that can endure constant use and cleaning. It’s frequently utilized for additional relaxed or provincial styles.
Material: Cloth is a characteristic texture produced using flax filaments. It’s strong, impervious to kinks and blurring, and retentive and breathable.
Material and Cotton Duck: These materials are entirely tough and are among the most widely recognized decisions for slipcovers. They can be handily cleaned and are reasonable for substantial use.
Twill: Twill is a kind of weave that results in an example of slanting equal ribs. It’s a solid material that is frequently utilized for slipcovers.
Polyester-Cotton Mixes: These mixes consolidate the toughness and kink obstruction of polyester with the delicate quality and breathability of cotton
Spandex: Spandex is many times remembered for mixes to add stretch, guaranteeing a superior fit for the slipcover
Microfiber: Microfiber is a manufactured fibre that is known for its delicateness and strength. It’s likewise impervious to stains and kinks.
Read More :
- bathroom sink faucet parts diagram
- kitchens with taj mahal quartzite
- 20 kitchen tools and equipment
- is taj mahal quartzite outdated
As an Amazon Associate, I earn from qualifying purchases